Kombucha & Drinks
How to Bottle Fermented Drinks Without Exploding Bottles
Learn how to bottle fermented drinks safely with the right bottles, a burping schedule, and cold-crashing. Avoid kombucha bottle explosions with these steps.
Bottling a fermented drink feels like the finish line, but it is also the moment when things can go sideways if you skip a few precautions. CO2 builds up inside a sealed bottle as yeast and bacteria continue feeding on residual sugars. In a properly rated bottle with a little oversight, that pressure is what gives you fizz. In the wrong bottle, or in one left at room temperature too long, it can mean a mess at best and a shard of glass at worst.
The good news is that safe carbonation fermenting is not complicated once you understand what you are working with. You need the right containers, a simple burping routine, and the habit of moving bottles to the refrigerator before pressure climbs too high. This guide walks through each of those steps so your kombucha second fermentation or any other fermented drink lands in the glass instead of on the ceiling.
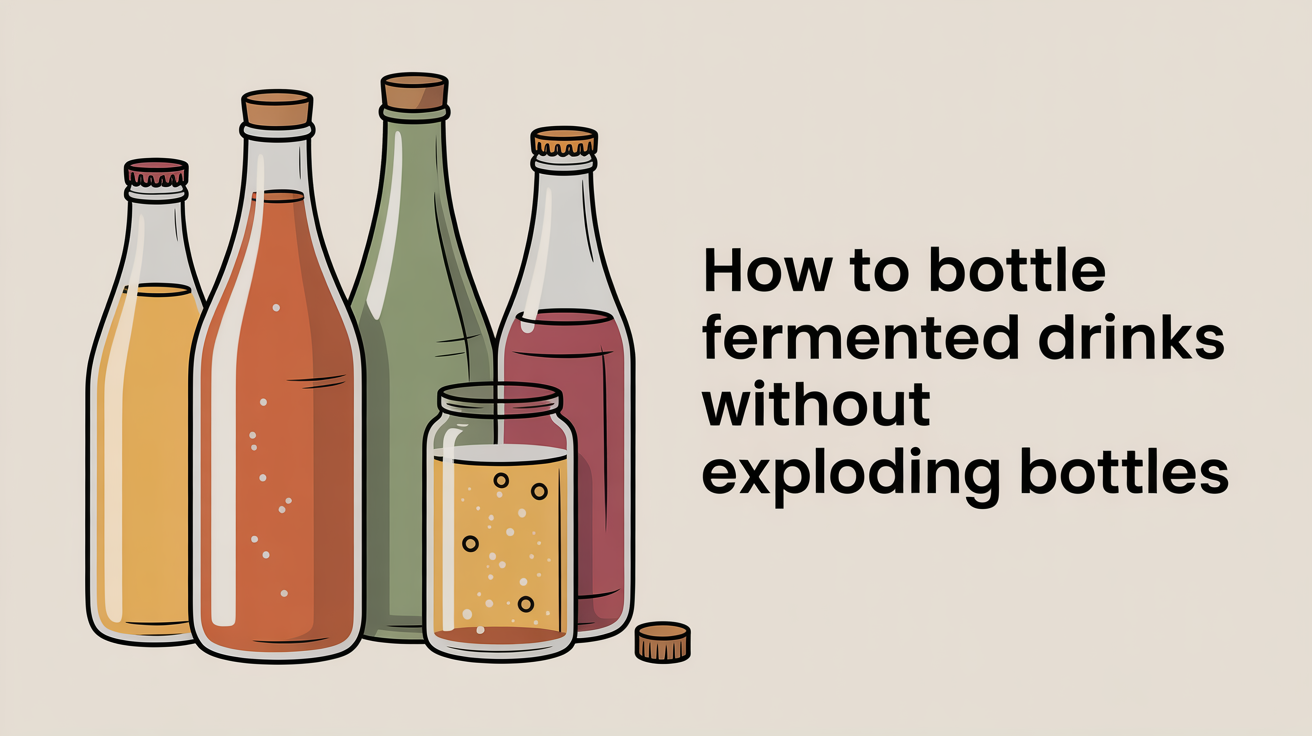
Choose Pressure-Rated Bottles
The single most important safety rule in bottling fermented drinks: never use ordinary glass jars, wine bottles, or repurposed sauce bottles. These are not built to hold internal pressure, and they can crack or shatter without warning as carbonation builds.
Bottles designed for safe carbonation fermenting share a few traits:
Swing-top (Grolsch-style) flip-top bottles. These are the most beginner-friendly choice. A thick glass body, a ceramic or metal bail-top lid, and a rubber gasket create a reliable seal. Look for 16 oz (500 ml) or 32 oz (1 L) sizes rated for brewing. The thick walls are built for pressure. Check the bottle for any chips or cracks before each use, and replace the rubber gasket once a year or whenever it looks stiff.
Commercial kombucha bottles. Bottles that originally held store-bought kombucha are already pressure-rated. They are threaded for a standard cap, come in handy sizes, and can be reused many times as long as they are not chipped.
Standard 12 oz (355 ml) brown glass beer bottles with metal caps. These work well if you own a bottle capper. Capping is an extra step, but the format is proven for carbonated drinks.
Plastic (PET) bottles as a pressure gauge. A 16 oz or 20 oz PET soda bottle can sit alongside your glass bottles as a real-time pressure indicator (more on that in the burping section below). Never use thin single-use water bottles, only the thicker PET soda-bottle type.
Whatever you choose, fill bottles to within about an inch (2.5 cm) of the top. Too much headspace gives CO2 nowhere to go and slows carbonation. Too little headspace and pressure spikes faster than you expect.
Build a Burping Schedule
"Burping" a bottle means briefly opening the seal to release some built-up CO2, then resealing. It is the core habit for preventing kombucha bottle explosion during the second ferment at room temperature.
How often you need to burp depends on a few variables: room temperature, how much sugar is in the drink, and how active your culture is. A warm kitchen (above 75 F / 24 C) speeds fermentation and pressure build-up. A cooler room (around 68 F / 20 C) slows it down.
A practical starting schedule for most kombucha or jun:
- First burp: 12 to 24 hours after bottling
- Subsequent burps: every 12 to 24 hours until you refrigerate
When you burp, open the bottle over a sink or bowl in case of overflow. Flip the top slowly or unscrew the cap just enough to hear the hiss, then reseal immediately. If there is a rush of foam or liquid, seal it back up fast, let it settle for a few minutes, then try again. A strong rush of foam on day one is a sign that the ferment is moving quickly and you should refrigerate sooner rather than later.
This is also where a plastic PET bottle earns its place. Fill a plastic bottle with the same liquid at the same time as your glass bottles and leave it alongside them. Squeeze it every few hours. When it goes from soft to firm, your glass bottles are building real pressure too. That firmness is your signal to burp the glass bottles or move everything to the refrigerator.
Cold-Crash to Stop the Pressure Climb
Cold-crashing means moving bottled drinks to the refrigerator (35 to 45 F / 2 to 7 C) to slow yeast and bacteria activity enough that CO2 production nearly stops. This is the safest way to "lock in" your carbonation level before it goes further.
Most beginners are ready to cold-crash after 1 to 3 days at room temperature, though the timing varies:
- A cool kitchen and a small amount of added sugar: 2 to 3 days before refrigerating
- A warm kitchen or extra fruit juice added: 1 to 2 days, sometimes sooner
Once bottles are cold, they are stable for several weeks. The carbonation does not disappear; it stays dissolved in the liquid because CO2 is much more soluble at low temperatures. When you open a cold bottle, it releases that dissolved gas gradually as the drink warms up in the glass, giving you a steady pour of bubbles.
Cold-crashing does not fully stop fermentation, it slows it significantly. If you store bottles at room temperature for weeks, pressure will continue to build even after what seemed like the right carbonation level. Refrigerator storage is not optional for long-term safety.
If you are new to making kombucha at home, the beginner's guide to kombucha covers first ferment timing and how to judge when your brew is ready to bottle.
Manage Temperature and Timing for Safer Results
Temperature affects every stage of safe carbonation fermenting, so it helps to know what to expect at different ranges.
Below 65 F (18 C): Fermentation is slow. Pressure builds gradually and you have more time between burps, but carbonation may take 3 to 5 days to develop.
65 to 75 F (18 to 24 C): A comfortable range for most home brewers. Expect 2 to 3 days of room-temperature fermentation before refrigerating.
Above 75 F (24 C): Things move fast. In a warm summer kitchen or near a heat source, you may reach high pressure in 24 hours or less. Burp more often, taste early, and refrigerate as soon as carbonation is where you want it.
Avoid leaving bottles in direct sunlight or near the stove. Uneven heat causes pressure to spike unevenly between bottles.
One other timing note: if you add fruit, juice, or fruit puree to a bottle before sealing (common for flavored kombucha), expect faster carbonation. The extra sugars give the yeast more to work with. In a warm kitchen, flavored bottles may need refrigerating in 24 hours rather than 48.
Understanding your SCOBY and how it behaves is part of managing this timing well. If you want a refresher on SCOBY care and what affects culture activity, the guide to what a SCOBY is and how to care for one covers that in detail.
Frequently Asked Questions
Can I use mason jars for bottling fermented drinks?
No. Standard mason jars and their lids are designed for canning and vacuum seals, not for holding positive internal pressure from carbonation. They can crack or the lid can pop off unexpectedly. Use pressure-rated swing-top bottles or commercial brewing bottles instead.
How do I know if a bottle is over-carbonated before I open it?
Your plastic PET test bottle is the easiest indicator. If it feels hard when squeezed, the glass bottles alongside it are also under significant pressure. Open swing-top bottles very slowly over a sink, and consider wrapping them in a clean towel the first time you open any new batch, especially if they have been sitting at room temperature longer than planned.
What should I do if a bottle seems dangerously over-pressurized?
Move it to the refrigerator immediately. Cold temperatures slow the pressure build-up and buying you time. Open it outside or in the sink, draped with a towel, and open it incrementally, releasing a little gas at a time. Never point the opening toward your face.
How long can I store bottled fermented drinks in the refrigerator?
Most kombucha and similar fermented drinks are good for 2 to 4 weeks when refrigerated. Flavor and carbonation are usually at their best in the first week or two. After a month, the flavor tends to get sharper and more vinegary as acidity continues to develop slowly even in the cold.
What causes kombucha bottle explosions?
The main causes are using non-pressure-rated glass, skipping the burping schedule, leaving bottles at room temperature too long, or adding a large amount of sugar or fruit juice and not compensating with shorter room-temperature time. Following the steps above, choosing the right bottles, burping on schedule, and refrigerating promptly, covers the most common risks.