Kombucha & Drinks
How to Make a Ginger Bug for Natural Sodas
Learn how to make a ginger bug from scratch with this beginner guide. Includes a daily feeding schedule, temperatures, troubleshooting tips, and food safety...
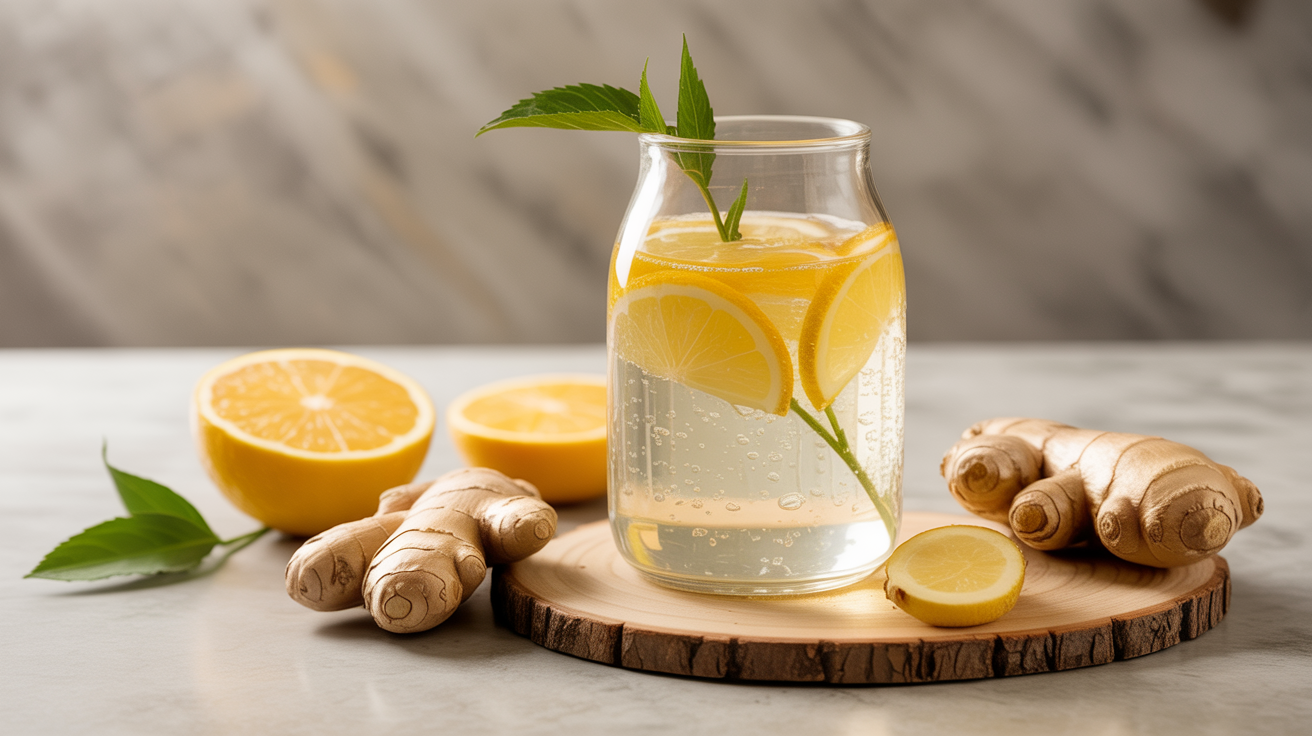
A ginger bug is a live culture of wild yeast and bacteria that you grow in a jar of ginger, sugar, and water over five to seven days. Once it's active and bubbly, you use it the same way a baker uses sourdough starter: stir a few tablespoons into sweetened fruit juice or herbal tea, seal it in a bottle, and let carbonation build over one to three days at room temperature. The result is a fizzy, naturally fermented soda with a bright ginger bite and none of the artificial sweeteners or preservatives you find in store-bought sodas.
Starting a ginger bug is one of the more forgiving fermentation projects around. You do not need any special equipment, and the whole process costs less than a few dollars. That said, you are working with wild fermentation, which means you need to understand what healthy activity looks like, what warning signs to take seriously, and how to bottle safely so you are not cleaning soda off the ceiling.
What You Need
Jar and tools:
- One clean 1-quart (1-liter) jar
- A small plate or piece of cloth to loosely cover the jar (not an airtight lid during culturing)
- A non-reactive spoon (wood or silicone)
Ingredients:
- Fresh, unpeeled organic ginger (about 4 to 5 inches / 10 to 12 cm total over the first week)
- Plain white sugar (granulated or cane sugar both work; avoid honey until you have experience, as it can introduce competing microbes)
- Unchlorinated water (filtered, spring, or tap water left uncovered overnight to off-gas chlorine)
A note on ginger: use fresh ginger with the peel on. The peel carries the wild yeast you are trying to cultivate. Pre-ground or powdered ginger will not work for this purpose. Organic ginger tends to carry a more active microbial population than conventionally grown ginger, though both can succeed.
How to Make a Ginger Bug: Step-by-Step
Day 1: Start the culture
- Wash the jar with hot soapy water and let it air-dry. Do not sanitize it with bleach or strong chemical sanitizers, as trace residue can inhibit fermentation.
- Grate or finely chop 1 tablespoon (about 10 grams) of unpeeled fresh ginger.
- Combine the ginger with 1 tablespoon (12 grams) of sugar and 2 tablespoons (30 ml) of unchlorinated water in the jar. Stir until the sugar dissolves.
- Cover loosely with a cloth or plate. Do not use an airtight lid at this stage. The culture needs oxygen access during the initial wild-yeast colonization phase.
- Place the jar somewhere warm: 70 to 80 degrees F (21 to 27 degrees C) is the ideal range. A spot near (but not directly on) a warm appliance or on top of the fridge works well. Avoid direct sunlight.
Days 2 through 5: Daily feeding
Each day, stir in:
- 1 tablespoon (10 grams) grated or chopped fresh ginger (peel on)
- 1 tablespoon (12 grams) sugar
- 2 tablespoons (30 ml) unchlorinated water
Stir the mixture two or three times per day if you can. This distributes the yeast and keeps sugar available to the culture.
What to watch for:
- Tiny bubbles forming around the ginger pieces (usually by day 2 or 3)
- A slightly yeasty or gingery smell
- The liquid becoming lightly cloudy
By day 5 or 6, you should see consistent bubbling within a few hours of feeding. That is your signal that the bug is ready to use.
Temperature and Timing
Temperature is the biggest variable in how quickly your ginger bug activates.
| Environment | Expected activation |
|---|---|
| 75 to 80 F (24 to 27 C) | 4 to 5 days |
| 70 to 74 F (21 to 23 C) | 5 to 7 days |
| Below 65 F (18 C) | 7 to 10 days or longer |
If your kitchen runs cool in the summer with air conditioning, move the jar to a warmer spot. Wrapping it loosely in a small towel can help retain ambient heat. Above 85 F (29 C), fermentation speeds up but can also favor less desirable organisms, so avoid placing the jar near a heat source that pushes temperatures that high.
How to Tell If Your Ginger Bug Is Healthy (and When to Toss It)
Healthy signs:
- Consistent bubbling after feedings
- A pleasant yeasty or gingery aroma
- Slightly sour smell as the culture matures
- Cloudy liquid with sediment at the bottom
Concerning signs to watch for:
Kahm yeast is a thin, flat, white or cream-colored film that can form on the surface of your ginger bug. It looks papery rather than fuzzy. Kahm is not harmful, but it does indicate the culture is either too warm, too low in sugar, or has too much surface area exposed to oxygen. Skim it off, feed the bug, and stir more frequently.
Mold is a different matter. If you see fuzzy growth in colors like green, black, blue, or pink, do not try to salvage the culture. Discard the entire contents, wash the jar thoroughly, and start again. Mold can produce toxins that stirring or skimming cannot remove.
A key principle in fermentation safety: ginger bugs are aerobic during the culturing phase (they need air), which means they are more exposed to environmental contaminants than anaerobic ferments like sauerkraut kept under brine. This is why the first few days of a ginger bug require closer attention than a sealed vegetable ferment. If anything smells off, like acetone, nail polish remover, or rotten food, trust your instincts and discard it.
When in doubt, throw it out. A batch of ginger bug costs a few dollars and a week of time. There is no reason to take chances.
Bottling and Carbonation Safety
Once your ginger bug is active, you use 2 to 4 tablespoons of the liquid (strained) per quart (liter) of sweetened juice or tea. Combine them in a flip-top bottle or a swing-top grolsch-style bottle, seal it, and leave it at room temperature for 1 to 3 days while carbonation builds.
Bottle explosion is a real risk. Natural fermentation produces carbon dioxide, and if carbonation builds faster than expected, bottles can over-pressurize. Follow these practices:
- Use bottles rated for carbonation (flip-top, swing-top, or thick glass soda bottles). Do not use thin glass jars or flimsy plastic bottles.
- "Burp" the bottle at least once per day: carefully open it slightly over the sink, let some pressure escape, then reseal it.
- Refrigerate as soon as the soda reaches your preferred fizz level. Cold temperatures slow fermentation dramatically and stop carbonation from building further.
- Use a plastic bottle as a pressure gauge if you have one. When the plastic bottle feels firm, your glass bottles are likely carbonated too.
- Keep bottles in a closed box or bag during carbonation as a precaution against breakage.
For more detail on how carbonation works during secondary fermentation, the concepts in how to carbonate kombucha the second fermentation apply directly to ginger bug sodas as well.
Maintaining Your Ginger Bug Long-Term
Once your culture is active, you can keep it going indefinitely with a simple maintenance routine.
If you bake or brew weekly: Keep the bug on the counter and feed it daily (same amounts as above).
If you brew less often: Store the jar in the refrigerator. Cold dramatically slows the culture but does not kill it. Feed it once a week by stirring in 1 tablespoon each of ginger, sugar, and water. Before brewing, bring it back to room temperature and feed it daily for 2 to 3 days until it is actively bubbling again.
Over time you may find the culture becomes more sour and assertive. This is normal. If the flavor becomes too sharp for your taste, pour off half the liquid and replace it with fresh water, then resume the regular feeding schedule.
The ginger bug is its own ecosystem, related in spirit to the SCOBY you might use for kombucha. If you want to understand how living cultures like this work in more depth, what is a scoby and how do you care for one covers the microbiology in beginner-friendly terms. And if you are curious about other fizzy fermented drinks beyond soda, how to make kombucha at home a beginner s guide is a good next step.
Frequently Asked Questions
How do I know when my ginger bug is ready to use?
Look for active, consistent bubbling within a few hours of feeding, a slightly sour or yeasty smell, and cloudy liquid. A simple test: drop a small spoonful into a glass of water. If it floats and produces bubbles, the culture is lively enough to use. If it sinks and stays still, give it another day or two of feeding.
Can I use dried or powdered ginger instead of fresh?
No. The wild yeasts you are cultivating live on the surface of fresh ginger, particularly the peel. Dried and powdered ginger have been processed in ways that eliminate the microbial population. Use fresh, unpeeled ginger for best results.
My ginger bug has a white film on top. Is it ruined?
Probably not. A flat, thin white or cream-colored film is most likely kahm yeast, which is harmless but undesirable. Skim it off with a clean spoon, stir the bug well, and feed it. If the film is fuzzy or any color other than white or cream, that is mold, and you should discard the culture entirely.
How much ginger bug should I use per bottle of soda?
A general starting point is 2 to 4 tablespoons (30 to 60 ml) of strained ginger bug liquid per quart (liter) of sweetened juice or tea. More bug means faster fermentation and stronger ginger flavor. Start with 2 tablespoons and adjust based on your results and taste preferences.
Is ginger bug soda safe for kids or people with weakened immune systems?
Naturally fermented sodas contain small amounts of alcohol produced as a byproduct of yeast activity, typically under 0.5% but sometimes slightly higher depending on fermentation time and sugar content. They also contain live microbes. For young children, pregnant individuals, or people who are immunocompromised, consult a healthcare provider before serving home-fermented beverages. When in doubt, leave it out.